Get Creative With the Kids by Teaching Them How to Make Paper Mache and Other DIY Projects

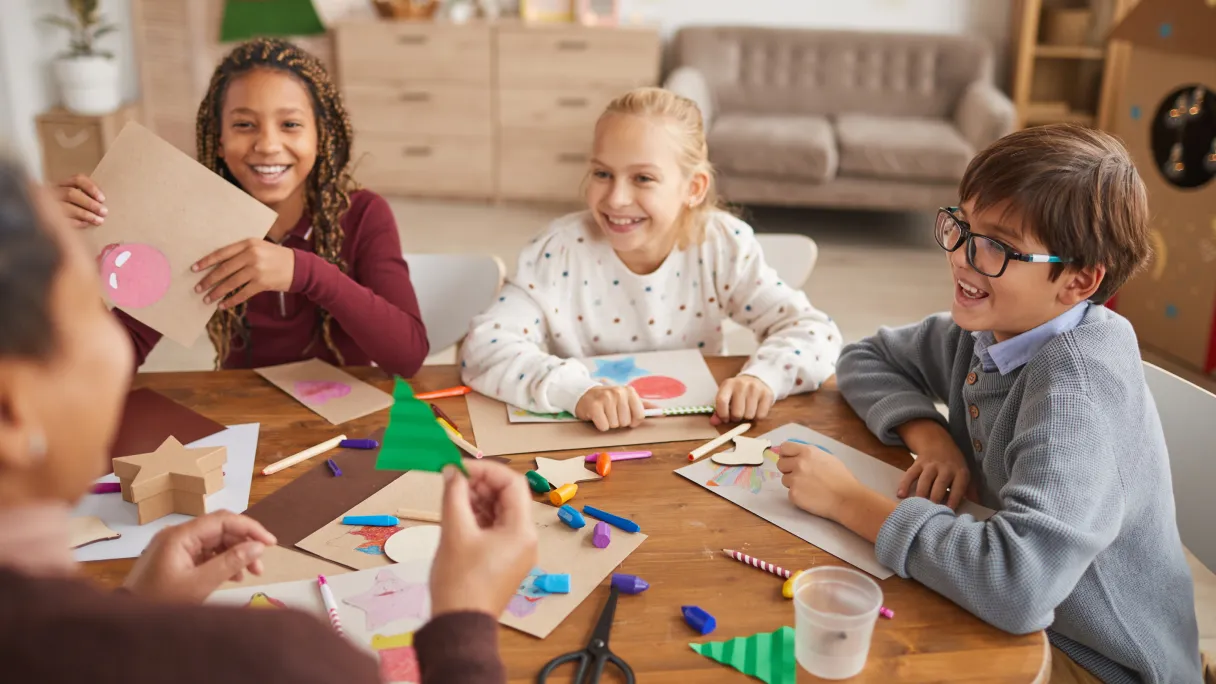
Good old fashioned, hands-on activities are great ways to keep screentime down for kids, which is something many parents are concerned about.
Some good old fashioned, hands-on activities are a great way to keep the iPhones and tablets at bay which many parents are often concerned about. A recent survey1 revealed that 55% of parents are concerned that their favorite little ones aren’t as imaginative as they were as children, and of those, 67% blame the lack of creativity on technology.
You may have to save it for a rainy day, but here are a few fun activities – that parents may recall from their own childhoods – to get the juices flowing in those developing brains. One of the simplest is to teach them how to make paper mache.
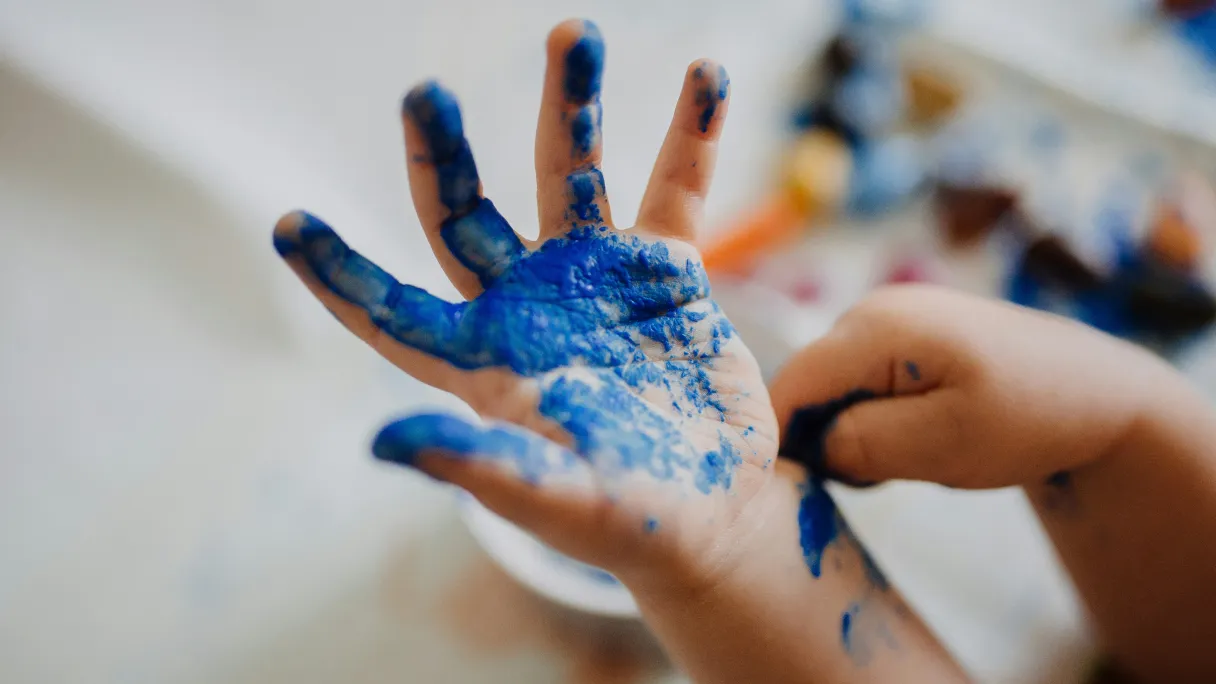
A crafting technique that has been around for centuries, paper mache – or, officially, papier mâché (a French phrase meaning “chewed paper”) – uses various types of paper and paste to create everything from masks to pinatas to paper mache volcanos for science projects.
You can choose from many forms of paper … but why not try Scott Paper Towels ? They are absorbent and great for at-home projects like paper towel art projects.
Here’s a step-by-step method for making paper mache:
- Tear sheets of paper towels into 3- or 4-inch strips.
- Make the glue. In a bowl, mix about 1 cup of flour with 1 cup of water (for a larger project, use more – just keep the proportions the same). Stir with a wooden spoon until it’s thick and glue-y in consistency. (Add a bit more water if it seems too thick). Then, sprinkle in some salt and mix it all a bit longer until it’s smooth and lump-free.
- On a flat surface, such as a well-covered table, place both sides of each strip of paper with the glue concoction, using a paint brush.
- Apply each glue-covered strip of paper – one at a time – over the face of the object you’re covering (a great choice for beginners is an inflated balloon). Use the paint brush to smooth the pieces down onto the surface; and repeat the process until it’s about three layers deep.
- Let it dry for several hours.
- Cover it with a sealant, like a varnish or sealing spray.
- And then decorate with colorful paints and glitter … or anything else you and the kids choose to jazz up your creation!
For more tips on how to make anything out of paper mache, including a paper mache volcano, visit websites or blogs from fellow DIYers, such as Ultimate Paper Mache .
Sure, it’s great to get the kids involved in something that will exercise their creative muscles. And if that project turns out to be something you can actually use in the house, all the better. Here are a couple of simple DIY projects that are functional, too:
This one’s really easy, and perfect for younger kids.
- Take a plastic coat hanger, and using wire cutters or metal shears, cut through the bottom of the hanger, right in the middle.
- Slip a roll of Scott Paper Towels through the opening and onto the bottom of the hanger.
- Hang the coat hanger from a door or cabinet knob. And voila, you’re finished.
You may even dangle one from the dresser or inside door knob in Junior’s room. Maybe he’ll get the idea and actually use paper towels to clean up his messes from time to time! It can also be a handy aid on a camping trip, as you can hang it from a low-hanging tree limb.
Here’s another clever idea, which your child can help with. It involves some treasure hunting, too
- Go to a thrift store and search for a large wicker basket that could fit neatly onto the floor of your bathroom. Make sure it has hand holes cut out of the flaps on each end, which is where you would normally place your hands to carry the basket.
- Measure the horizontal distance between the holes – and add a few inches on either side.
- Go to a hardware store and find a thick wooden dowel rod – about 3” in diameter -- that can be cut (using a handsaw) to the exact length you measured before.
- Paint the rod in a color that matches your bathroom décor.
- Insert one end of the rod into one of the basket’s hand holes. Then, slip a Scott Toilet Paper roll onto the rod and slide it to the middle. Finally, place the other end of the rod through the basket’s other hand hole.
- Store extra rolls of toilet paper in the belly of the basket.
- And you’re finished! It’s easy and functional, and will add a fun touch to your bathroom. Learn some more DIY paper towel holder ideas and DIY toilet paper holder ideas on Pinterest.
What are some DIY projects you have in mind for your children? Please build on the ideas we’ve listed, or share your own, via social media channels. Remember to use the tag #KeepLifeRolling.
1 OnePoll survey, on behalf of Claritin.


